Key Takeaways
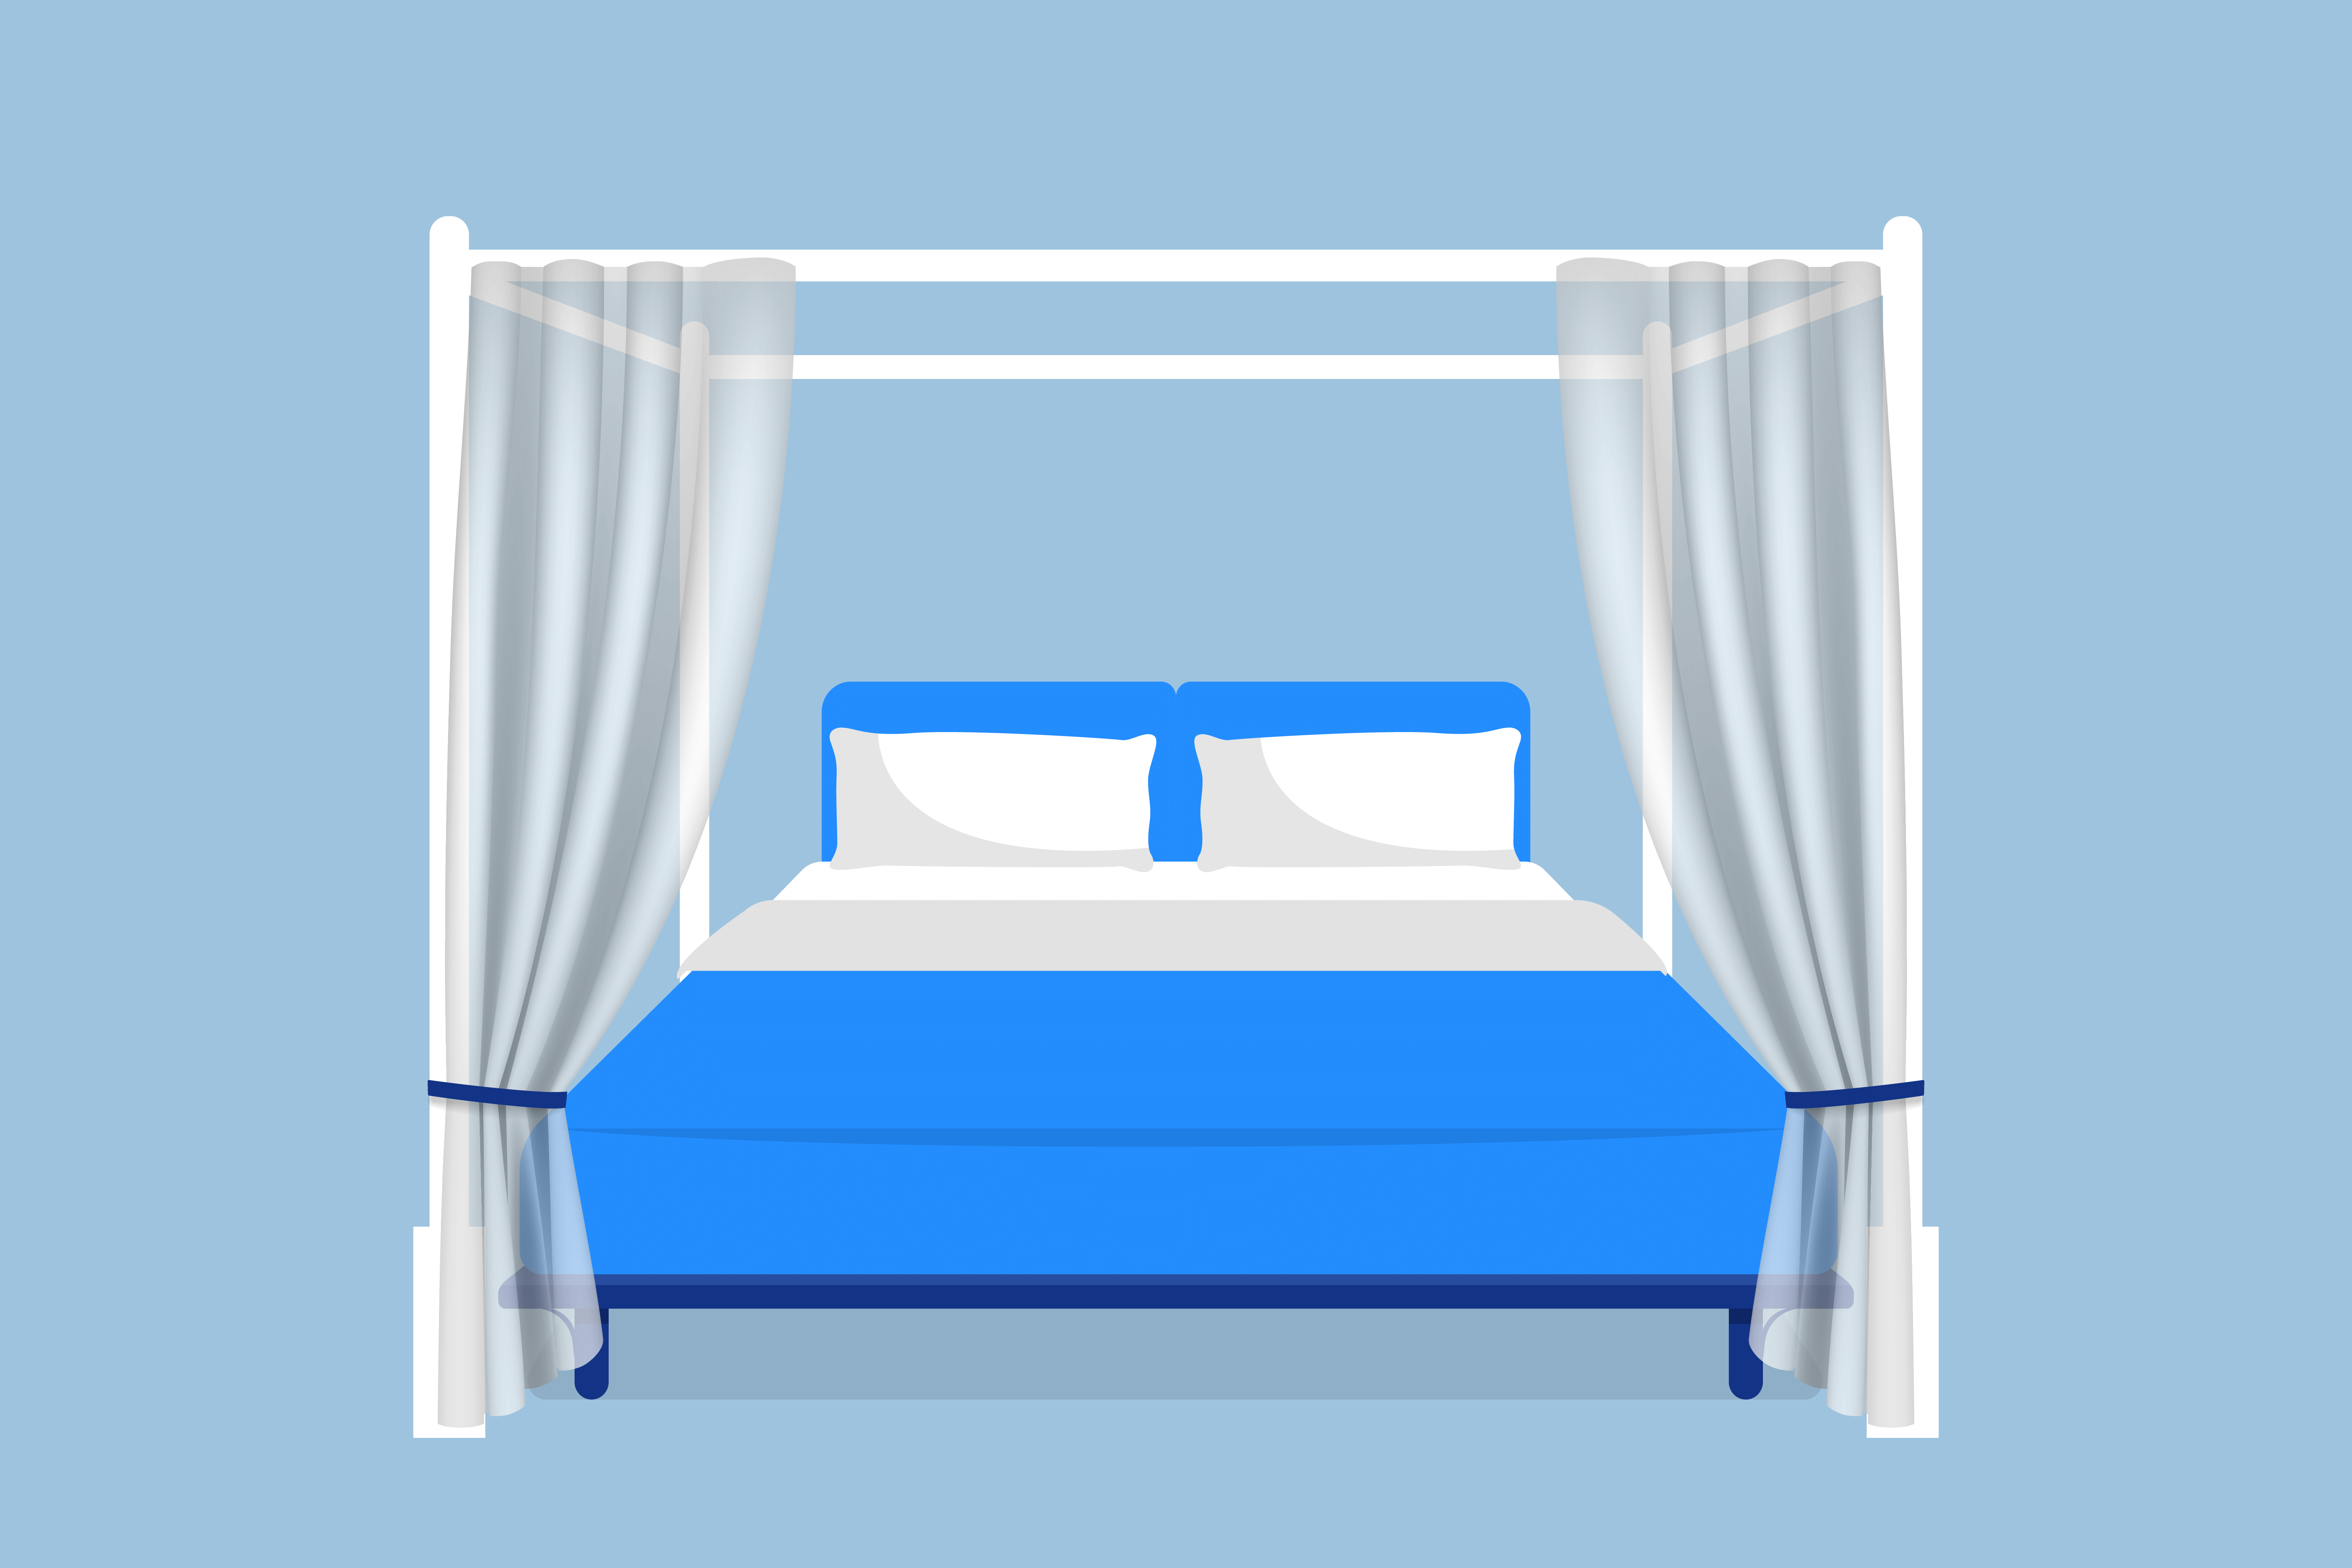
- Cozy and Magical Atmosphere: Bed canopies add a cozy and magical feel to your room, creating a fairytale-like ambiance. Making a DIY canopy is a budget-friendly option to enhance your bedroom’s aesthetics.
- Affordable DIY Options: Creating a DIY canopy is cost-effective, allowing you to personalize your bedroom without breaking the bank. This guide provides easy steps to make pretty ceiling canopies using materials you likely already have at home.
- Fabric and Hardware Considerations: Choosing the right fabric and hardware is crucial. Light, sheer fabrics like voile or gauze create an airy feel, while bolder patterns and richer fabrics like velvet add a plush touch. The guide emphasizes the importance of safety during installation, providing tips for different types of hardware.
Bed canopies can make your room feel extra cozy and fun. The floating fabric adds a magical feel, like you are sleeping in a fairy tale, tucked away in your personal space in a castle! Making your own DIY canopy bed is much cheaper than buying one, and perfect for anyone who wants to spice up their room on a budget.
This guide will show you easy ways to DIY pretty ceiling canopies using materials you likely have at home already. We will also give tips for reusing old bedsheets creatively. Follow our simple steps to create a gorgeous bedroom focal point.
Save $450 On Any Mattress

Plus free shipping
Fabric and Hardware Materials
First, decide what kind of vibe or style you want for your canopy. Do you prefer light and airy or rich and dramatic? The fabric type and color you pick can set the mood.
Consider also if your hanging fabric canopy and curtains will be cosmetic or practical. If you’ll need heavier fabric that can block out morning light, or if cheap fabric will do for decoration.
Light, sheer fabrics like voile or gauze let in air and light. These breezy materials work nicely to make reading nooks in corners near where you might store books in the bedroom. Cotton sheets in fun prints can be upcycled beautifully here.
Bolder patterns like florals or paisleys paired with richer fabrics like velvet or brocade feel plush and cozy. They block light nicely for sleeping. Deep hues like wine colors or navy set an elegant envelope around your bed.
Consider also how different fabrics pair together – both in pattern and texture. Mixing solids with prints, casual stripes with formal damasks, or linen with lace overlays all make for charming combinations in a bedroom canopy.
You also need hardware components to hang your canopy materials:
- Rods come in varied sizes and can be mounted to walls or ceilings. Choose screws that work with your ceiling type if securing to a stud. Hollow drywall requires special anchors.
- Adhesive hooks stick well without screws or holes for renters. Look for heavy-duty options rated for heavier drapes.
- Curtain tracks and wires offer a smooth open and close option using slide rings or clips. These create an adjustable billowy effect.
You might be able to simplify things by picking up a ceiling fabric draping kit. However, you might be more interested in upcycling fabrics from around the home for this project.
Basic Steps for Installing Your Canopy
Making your canopy takes 4 main steps:
- Measure ceiling height for fabric length. Measure bed width for rod length. Add a few inches if using hardware.
- Attach rods, tracks, or hooks to hold the canopy per the included directions. Use a tall ladder safely – work slowly, and have someone steady it.
- Hang curtain panels or fabric lengths using clips, grommets, or rings sewn along the top edge to attach easily onto hardware.
- Fluff and adjust the fabric so it hangs beautifully! Stand back and admire your new cozy happy place.
Maintain safety first when working on ladders – move cautiously, use spotters, and wear closed-toe shoes.
Hanging Tips
- Ladder safety is vital – use spotters, and quality shoes.
- Test weight limits before hanging heavy objects on adhesives.
- Distribute canopy weight evenly across rods using proper hardware.
- For rental spaces, stick to lightweight fabrics and non-permanent installation when possible.
DIY Ceiling Canopies Step-by-Step
If you love the idea of a bed canopy but don’t currently have the means to buy or build a full four-poster bed, don’t lose hope! You can create gorgeous DIY canopy beds easily using rods, curtains, and ceiling mounts combined creatively over just about any bed frame.
Here we will explore step-by-step construction for ceiling-mounted canopy beds.
Measure Carefully
Whether building a basic ceiling rod canopy or a more elaborate bed crown style, taking careful measurements is the critical first step. You will need:
- Room height from floor to ceiling for curtain length
- Bed width and length for rod size
- Stud spacing for hardware mounts
Mark all measurements on paper and have them on hand for easy reference later. For rentals, look up property guidelines on hole limits, adhesive sticker removal policies, and weight capacities before you begin installation.
Gather Materials
Now that measurements are complete, make a detailed canopy materials list. Basic components to procure:
- Rods, pipes, or tracks
- Curtains, panels, or fabric yardage
- Hardware – brackets, rings, connectors, adhesive hooks
- Tools – drill, level, stapler, hammer, ladder, tape measure
Set your budget then explore component options to meet it through DIY stores, hardware shops, craft stores, and home goods outlets.
Install Mounting Hardware
Mounting rods or tracks securely overhead is vital for safety through years of use. Professional installation is best for heavy draperies. If DIYing, have assistance lifting equipment and materials up ladders.
For stud-mounted eye screws or integrated ceiling tracks, carefully locate studs using a finder before drilling pilot holes. Align to measurements.
Heavy-duty stick-on hooks offer adjustable placement without tools for standard drapes under 50 pounds. Clean the surface thoroughly so that the adhesives grip well.
Weave Curtains or Fabric Onto Rods
Sewn or no-sewn top treatments can layer allure atop straight ceiling rods. Clip panels neatly in place using curtain rings, grommets, or back tabs. For more avant-garde looks, tack swags right to mounts or drape bolts of cloth freely through rings across rods.
Embellish and Enjoy!
Once structural elements are soundly executed, unleash creativity by selecting fun touches like ribbon garlands, chandelier bling, and upholstery trims. Lighting shifts ambiance – string glow balls from rods or mount sconces behind headboards. Finally, sink into the comfort that only cushy pillows and fluffy duvets supply!
Upcycling Fabrics for Bed Canopies
Instead of discarding old linens, give them a new life by repurposing them into beautiful canopy designs. Sheets with intricate patterns, soft blankets, or even vintage tablecloths can become the foundation for a unique and personalized bed canopy.
Consider reusing old sheets with eye-catching prints as the main fabric for a ceiling canopy. The lightweight and breathable nature of sheets is perfect for creating an ethereal and dreamy atmosphere.
Even torn, pilled, or irregular sheets offer hidden potential. Flip them over to showcase less worn hidden sides as canopy focal points paired with coordinating solids. Play with uneven folds and textures as eclectic design elements.
Blankets, especially those with interesting textures or bold colors, can be layered over the sheets to add depth and coziness to the canopy.
If you have them, worn pillowcases or covers from old pillows can also be fantastic additions to your DIY bed canopy. They offer a convenient and often overlooked source of material that comes in various sizes and textures. Plus, pillowcases often come with decorative edges, lace, or embroidery. You can repurpose the edges to create a beautiful border or use the decorative parts strategically.
Tablecloths, with their larger dimensions, can be repurposed into elaborate and elegant canopies. The intricate patterns and designs on tablecloths can serve as a focal point, creating a luxurious and romantic ambiance in the bedroom.
For a bohemian touch, shower curtains with interesting prints or textures can be repurposed as canopy material, offering a waterproof and durable option that adds a unique flair.
To start your upcycling project, carefully cut and sew the materials to fit your desired canopy style. Whether it’s a simple draped design or a more elaborate four-poster bed crown, upcycled linens provide an affordable and sustainable way to enhance your bedroom decor.
Don’t hesitate to mix and match fabric items from around the home with different patterns or colors. This eclectic approach can add visual interest to your canopy, making it a vibrant and unique focal point in your bedroom.
The beauty of upcycling lies in the ability to infuse your personal style into your living space while reducing waste and embracing a more environmentally conscious approach to home decor.
DIY No-Sew Canopy Ideas
Let’s explore 5 easy no-sew canopy styles you can easily DIY.
1. Basic Rod Canopy
This classic style uses straight rods on 2 sides to hang curtain panels. It looks chic with just 1 breezy panel per side.
Simply cut old sheets to fit the measurements you took. Hem edges cleanly using no-sew hemming tape. Use heavy-duty adhesive hooks on the ceiling to hang rods cut to the proper length. Cut panels evenly so they do not bunch up. Consider adding trim.
2. Elaborate 4-Poster
Make it feel posh and extravagant by surrounding the whole bed with rods and panels. Bend inexpensive PVC piping at corners to create bedposts. Connect rods using corner elbow pieces from a hardware store. Top with a decorative medallion or crown for majesty.
Sew 4 matching floor-length panels from a vibrant flat sheet. Upcycle holey or damaged sheets by backing them with solid panels for opacity. Finish the lower edge with a ball fringe for drama and the classic canopy effect.
3. Swiss Cheese Effect
Covering the whole ceiling in billowy swags of fabric creates an ethereal dreamscape. Swag fabric attractively between rods to make “holes” for ceiling lights or fixtures to peek through. Adhere lace medallions or floral appliques to fabric for extra cottagecore charm.
Give an old bumpy sheet new life on the ceiling. Carefully stretch, staple, or tape it up in sections. Conceal uneven areas in graceful folds and ripples. Weave in fairy string lights for a twinkling finish.
4. Bed Crown Canopy
Draw focus over the bed with a pouf of fabric centered at the headboard. First firmly attach a small mounting board or sturdy branch painted to match the walls. Then gather and drape fabric prettily over the board. Accent with ribbons, garlands, or string lights.
Upcycle several patterned pillowcases in similar colors. Sew them together into panels, then gather and tack to the mounting board creating a cute centralized pouf canopy.
5. Corner Nook
Make a small-scale canopy over a bedside chair or room corner instead. Drape fabric inside an embroidery hoop or hula hoop attached at a center point. Great for kid rooms, dorm rooms, or studio apartment bedrooms!
Reimagine colorful old t-shirts by cutting them into strips and then braiding or twisting them before gathering them into a hoop shape. Hang the hoop canopy with ribbons or strong fishing wire from pushpins.
Canopy Decor Ideas
Once your canopy base is installed, add special touches:
- Fairy string lights or paper lanterns for a playful glow
- Shell, crystal, or bead trim along the lower fabric edge
- Sheer overlay panels offer privacy in a fun print
- Rearrange panels symmetrically or closed for a cocoon effect
Great design oozes from your creativity and personalization. Have fun mixing textiles, colors, and embellishments meaningful to you. The options are truly endless. Follow your heart to what speaks to your spirit to guide you in making magic.
How to Hang Drapes from the Ceiling
As an alternative to the classic bed canopy, you can also consider creating a sequestered space with ceiling drapes. Hanging ceiling drapes can transform your bedroom, adding an element of luxury, softness, and sophistication.
Whether you’re looking to create a romantic canopy effect over your bed or simply want to divide a studio apartment bedroom for practicality, the process involves careful planning and attention to detail.
Here’s a step-by-step guide on how to hang ceiling drapes effectively:
Determine Your Style and Purpose
Before you start, decide on the style you want to achieve with your ceiling drapes. Are you aiming for a dreamy, cascading effect or a more tailored, structured look?
Consider the purpose of the drapes – whether it’s to add privacy, frame a specific area, or purely for decorative reasons. This will influence the fabric choice and hanging method.
Measure and Mark
Measure the height of your ceiling and the width of the area you want to cover with drapes. Mark these measurements on the ceiling lightly with a pencil. Precision is crucial for a polished finish.
Select the Right Hardware
Choose the appropriate hardware for your drapes. Options include curtain rods, tracks, or even ceiling-mounted curtain wire systems. The choice depends on the weight of your drapes and the desired look.
Make sure the hardware is compatible with your ceiling type (drywall, plaster, etc.).
Install Mounting Hardware
Install the mounting hardware according to the manufacturer’s instructions. Use anchors or screws appropriate for your ceiling type.
Ensure that the mounting hardware is level to prevent uneven draping. Use a level to confirm accuracy during installation.
Choose Your Drapes Wisely
Select ceiling draping that complements the overall theme of your room. Light, sheer fabrics like voile or chiffon create an airy, romantic feel, while heavier materials like velvet offer a more opulent appearance.
Consider the length of the drapes – floor-length for a dramatic effect or shorter for a more casual look.
Attach Drapes to Hardware
Depending on the hardware you’ve chosen, attach the drapes using curtain rings, clips, or by threading the fabric through the curtain rod. For ceiling tracks, ensure that the drapes can smoothly glide along the track.
Adjust and Arrange
Once the drapes are hung, take the time to adjust and arrange them to achieve the desired look. Ensure that the drapes are evenly distributed and fall gracefully.
Experiment with different arrangements, such as creating swags or tying back sections, to add visual interest.
Secure Loose Ends
Use fabric ties, decorative hooks, or even ribbon to secure any loose or excess fabric. This not only adds a finishing touch but also prevents the drapes from becoming tangled or uneven over time.
Finishing Touches
After you hang ceiling drapes, consider adding tiebacks, tassels, or other decorative elements to enhance the overall appearance. These details can contribute to the cohesion of the room’s design.
More Ways to Dress Up Your Bed
By going beyond a homemade bed canopy and combining other elements, you can make a bed that not only looks classy and pretty but also reflects your personal style and preferences.
Luxurious Bedding
Invest in high-quality, luxurious bedding with a high thread count for a soft and comfortable feel when you cozy up for sleep. Then, choose elegant duvet covers, quilts, or comforters in neutral tones or subtle patterns for a sophisticated look.
Lastly, layer your bed with decorative throw pillows and cushions in coordinating colors, with perhaps an occasional pop of offsetting color, to add depth and style.
Headboard Upgrade
Consider adding a stylish headboard to your bed for an instant touch of elegance. Upholstered or wooden headboards can transform the overall appearance of your bed.
Think about the headboard size, too, as the board can become the focal point of your bedroom.
DIY headboards can be a budget-friendly option. You can use reclaimed wood, old doors, or fabric to create a custom look as part of a budget bedroom makeover.
Statement Bedside Tables
Upgrade your bedside tables with stylish and cohesive pieces that complement the overall theme of your bedroom, such as small shelves to store books in the bedroom or a mirrored table for a modern touch. Add elegant table lamps with soft lighting to create a cozy and inviting ambiance.
Throws and Blankets
Drape a luxurious throw or blanket at the foot of your bed. Choose materials like faux fur, cashmere, or a knit throw to add texture and warmth.
Opt for throws in colors that complement your bedding for a cohesive and polished look.
Symmetrical Arrangement
Create a sense of order and sophistication by arranging pillows on the bed symmetrically. This simple technique can make your bed look more polished and inviting.
Color Palette Harmony
Stick to a cohesive color palette to achieve a harmonious and classy look. Consider using a combination of neutral tones with one or two accent colors for a sophisticated vibe, or choose soothing bedroom colors for sleep.
Under-Bed Storage
Keep the space under your bed organized with stylish storage solutions, such as colorful bins, wicker baskets, or upcycled drawers. This not only adds functionality but also contributes to a clean and elegant appearance, particularly if you pair it with a bed skirt.
If you need more space, consider a discreet set of bed risers. These can raise your bed by a few inches, expanding the under-bed storage space.
Add Texture with Rugs
A plush rug by the bedside not only enhances the visual appeal but also provides a soft landing for your feet when you get out of bed, ensuring a cozy and comfortable start to your day. Plus, a well-chosen rug under the bed can serve as a focal point, adding texture, warmth, and color to your sleeping space.
Opt for a rug that complements your bedroom decor, or layer several rugs in the bedroom together, considering factors like pattern, size, and material. Whether you prefer a chic, minimalistic look or a more vibrant and bohemian atmosphere, the right rug can tie the elements of your bedroom together, creating a harmonious and stylish retreat.
FAQs
Can you make your own bed canopy?
Yes, you can create your own bed canopy with a few simple materials. One popular method is to use a hoop or embroidery ring and drape sheer fabric over it, creating an elegant and budget-friendly canopy. You can also customize the fabric color and texture to match your bedroom decor, making it a personalized addition to your sleeping space.
How do you make a canopy bed without a canopy?
To achieve a canopy bed appearance without a traditional canopy, consider using curtain rods attached to the ceiling. Hang long, flowing curtains, cheap fabric with a sheer weave, or even upcycled table cloth or sheets from the rods, allowing them to drape down the sides and across the foot and head of the bed.
If you hang ceiling draping like this, it creates a sense of enclosure and adds a touch of romance without the need for a full canopy frame.
What can I use for a bed canopy?
Various materials can be used for a DIY bed canopy, depending on your preference and style. Sheer fabrics like chiffon, mosquito netting, or even lightweight fabric curtains work well for an ethereal and romantic look. Heavier fabrics can be used to create a darker sleeping space and block out light, just make sure you hang them with appropriately strong hooks or rods.
You can also experiment with different textures and colors to match your bedroom decor, ensuring that the bed canopy complements the overall aesthetic.
How do you drape a bedroom ceiling with fabric?
To drape a bedroom ceiling with fabric, start by attaching curtain rods or hooks to the ceiling. Then, drape the fabric over the rods or hooks, allowing it to flow gracefully to the floor. You can create a canopy effect by draping the fabric over the bed or by hanging it along the perimeter of the ceiling, adding a touch of luxury and coziness to the bedroom.
How do you hang curtains from the ceiling over a bed?
Hanging curtains from the ceiling over a bed can be achieved by installing curtain rods or tracks directly into the ceiling. Attach the curtains to the rods or tracks and let them hang down, framing the bed. This method not only adds a decorative element but also gives the illusion of height, making the room feel more spacious.
Does a canopy bed make a room look bigger or smaller?
A canopy bed, when properly styled, can make a room look bigger. The vertical lines created by the bedposts or canopy frame draw the eye upward, creating a sense of height and openness. Choosing sheer or light-colored fabrics for the canopy further contributes to the illusion of a larger space by allowing light to pass through and brighten the room.
How do you make a bed canopy out of sheets?
Creating a bed canopy out of sheets is a simple and cost-effective DIY project. Use a hula hoop or embroidery ring to create a circular frame. Then, drape the sheets over the frame, allowing them to hang down in gentle folds. Secure the sheets in place with clips or ties, and hang the hoop or ring from the ceiling using hooks or adhesive tabs for a charming and budget-friendly bed canopy.
How do you make a canopy without drilling or nails?
To make a canopy without drilling or using nails, consider using adhesive hooks, removable wall strips, or tension rods. These alternatives provide a secure hold without damaging the ceiling, creating a draped effect without the need for permanent fixtures.
Attach the hooks or strips to the ceiling or walls, and hang the canopy fabric from them. Tension rods can be positioned between walls or furniture to support the canopy without the need for drilling holes.
Conclusion
Creating a dreamy bedroom canopy is a budget-friendly and creative way to add a touch of magic to your sleeping space. Whether you prefer a light and airy vibe or a rich and dramatic atmosphere, the fabric type and color you choose can set the mood. From basic rod canopies to elaborate four-poster designs, there are various DIY options to suit your style.
Once your canopy is installed, consider adding decorative elements like fairy string lights, bead trim, or sheer overlay panels for added charm. Remember to maintain safety precautions, distribute weight evenly, and follow guidelines for rentals.
In the end, the goal is to envelop yourself in the peaceful comfort, sweet dreams, and an extra sprinkle of magic provided by your new gorgeous bedroom canopy. Let it cast a spell of tranquil rest upon all who enter, turning your personal haven into a dream sanctuary.
About the author
Geoff McKinnen is a writer focusing mainly on the healthcare industry and has written articles on everything from foods to help you lose weight to the connection between Alzheimer’s and sleep. Geoff’s passionate about helping readers improve their well-being to lead happier lives. Outside of work, Geoff enjoys cycling and hiking and believes that by leading a healthy lifestyle, he can help others do the same.
View all posts

