Key Takeaways
- Effective Leak Detection: Utilize methods like listening for escaping air, observing air bubbles with a soapy water solution, and using baby powder to identify disturbed areas. These techniques ensure quick and precise identification of leaks, facilitating faster repairs.
- Proper Patching Techniques: Patch small holes by applying adhesive sparingly and pressing the patch firmly onto the damaged area. For larger holes, apply adhesive sparingly, reinforce with an additional bead around the patch’s edge, and apply pressure on a flat surface for a strong bond. Following these techniques ensures durable repairs that restore the mattress’s functionality.
- Prevention and Maintenance: Regularly inspect the mattress for wear, avoid overloading it, and store it properly to prevent leaks. Using a proper patch kit with vinyl patches and adhesive ensures reliable repairs, extending the mattress’s lifespan and minimizing the need for replacements.
Have you ever wondered how to patch an air mattress and find a hole without having to replace it entirely? If you’ve ever experienced the frustration of waking up in the middle of the night on a deflated air mattress, then this article is for you.
We will guide you through the step-by-step process of patching an air mattress and effectively locating any holes or leaks, saving you both time and money.

Save $450 On Any Mattress

Plus free shipping
Materials Needed for Patching an Air Mattress
Before starting the patching process, gather all the necessary materials. These include a vinyl surface cleaner, a repair kit suitable for light gauge vinyl or heavy gauge vinyl depending on the type of mattress, dish soap for creating a soapy water solution, patch kits with adhesive patches, vinyl cement, a spray bottle for applying the soapy water solution, and possibly heavy gauge vinyl for larger repairs.
Other potential materials include duct tape or packing tape and improvised patch materials such as an old shower curtain liner or a plastic bag, and scissors to cut the patch to size.
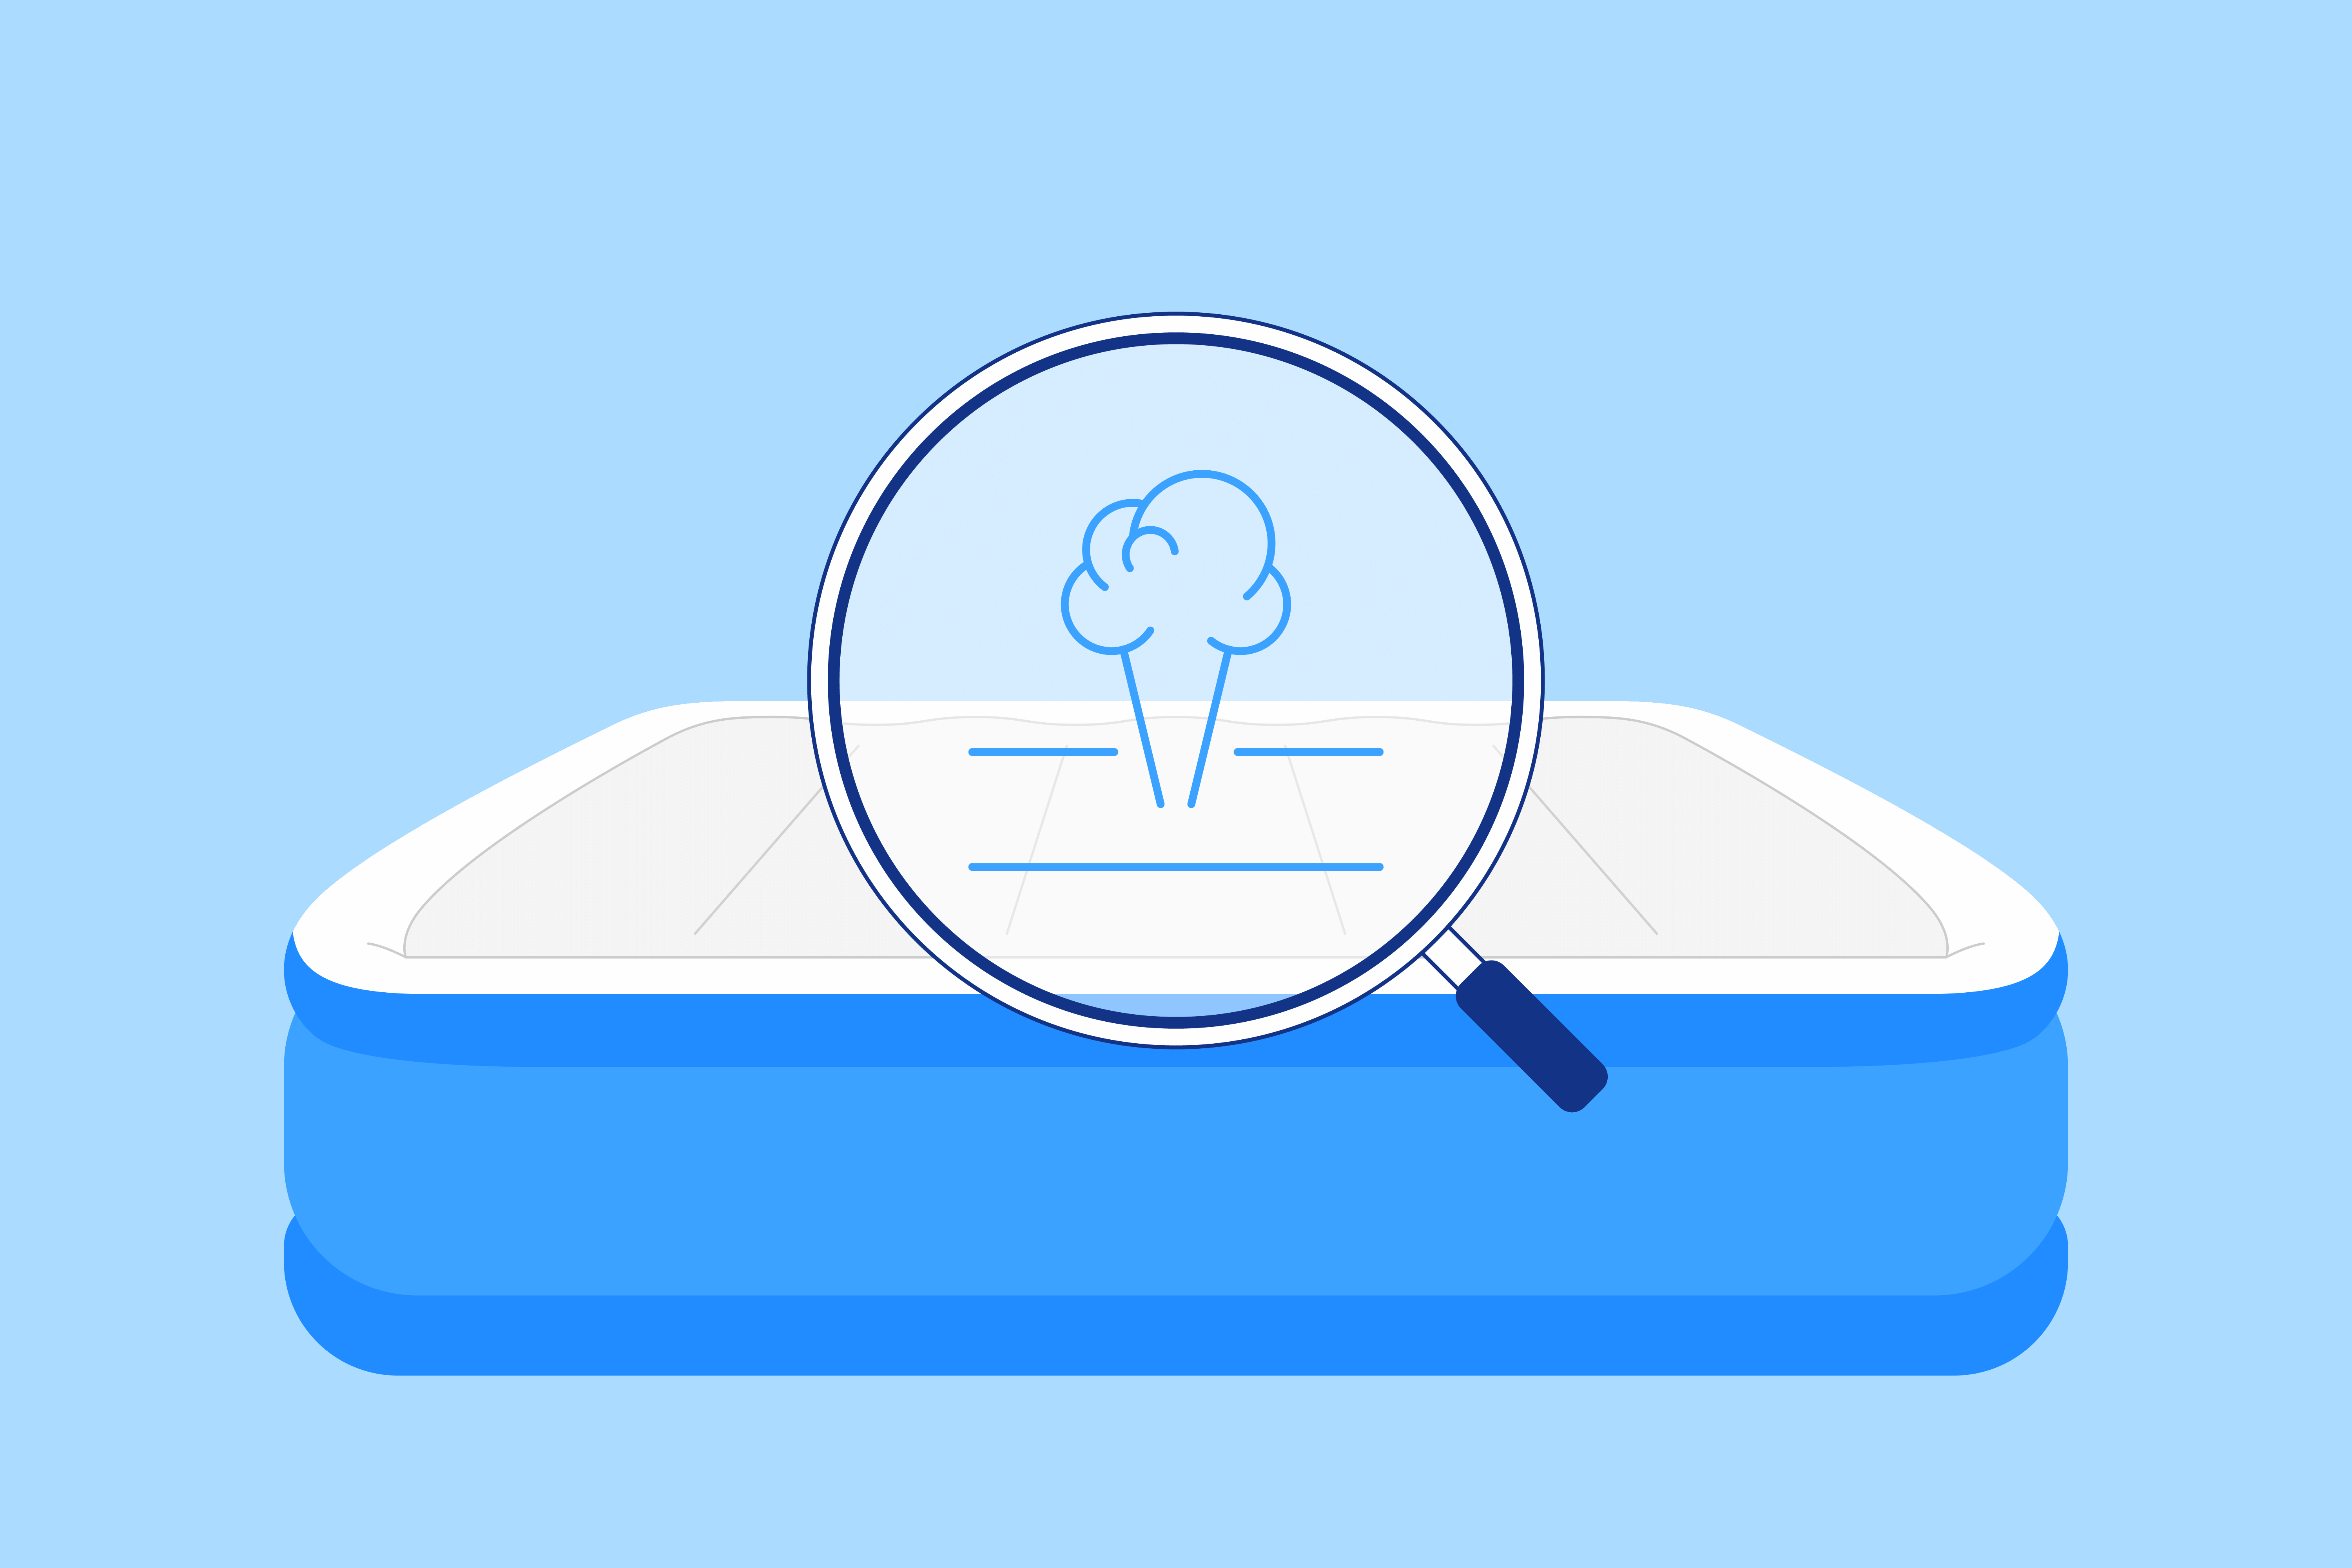
Locating the Leak in Your Air Mattress
When your air mattress starts to lose air, it’s essential to locate the elusive hole causing the problem. Fortunately, there are several methods you can use to find the leak, ensuring a speedy repair.
Follow these steps to easily identify and locate the hole in your air mattress. We recommend using a permanent black marker or similar to circle the leak once you’ve found it. This way, you’ll remember easily where it is when you have the patch ready!
Listening for Escaping Air and Noticing Air Bubbles
Inflate your air mattress to its full capacity. Once it’s fully inflated, listen closely for any hissing sound indicating escaping air. Pay particular attention to the surface of the mattress, as the leak is often located there.
Additionally, visually inspect the mattress and look for any evident air bubbles. These bubbles may appear as small, visible pockets of air pushing against the surface.
You can also try running your hand along the surface of the inflated mattress, feeling for any air escaping. This works best if you moisten your hand slightly.
Creating a Soapy Water Solution for Visual Inspection
If the leak is not immediately apparent, it’s time to create a soapy water solution. Start by mixing a small amount of dish soap with water in a spray bottle. Shake the bottle gently to ensure it is well mixed. With the soapy water solution in hand, spray it evenly across the surface of the mattress.
If there’s a hole, you’ll see bubbles forming where the air is escaping.
Observing for Bubbles and Using Tissue Paper
When air escaping from an inflatable mattress makes finding leaks difficult, a soap solution sprayed onto the surface helps reveal elusive holes by forming bubbles. This simple method effectively pinpoints the leaks, allowing for quick and precise repairs.
After applying the soapy water solution, pay close attention to any bubbles that may form on the surface. If there is a leak, small bubbles will start to appear, indicating the location of the hole. Another method is to gently run tissue paper over the surface of the mattress. If there is a hole, the tissue paper will move or rustle as air escapes through it.
Using Baby Powder to Uncover Disturbed Powder
Another effective method is to lightly sprinkle baby powder over the mattress. The baby powder will stick to any damp or moist areas, making it easier to identify disturbed powder caused by escaping air.
Look closely at the surface of the mattress, especially near seams or suspected leak areas, to find any signs of disturbed powder. This will give you valuable insight into the location of the hole.
Submersion
If the mattress is small enough, you can submerge it in a bathtub or pool filled with water. If there’s a leak, you’ll see bubbles rising from the hole.
We only recommend this as a last resort, since there’s the potential risk of mattress mold from lingering moisture.
Patching Small Holes in Your Air Mattress
If you have small holes in your inflatable bed, don’t worry! Patching them is quick and easy.
Apply Adhesive
Start by applying a small amount of adhesive sparingly to the damaged area and the patch. Be careful not to use too much adhesive, as this can affect the overall bond strength.
Press Patch Over Leak
Once you have applied the adhesive, gently press the patch onto the hole, making sure there are no air bubbles trapped underneath. The adhesive should hold the patch securely in place. Take your time to ensure a proper seal, as this will prevent any further leaks.
Most vinyl repairs or repair kit works well with this issue. Vinyl repairs, used for air mattress patches, are specifically designed to create durable and airtight seals on vinyl surfaces. By utilizing vinyl repair materials, you can effectively mend holes and leaks in your air mattress, ensuring a comfortable and uninterrupted night’s sleep.
After patching the hole, allow the adhesive to dry completely. Follow the instructions provided with your repair kit for the recommended drying time. This will ensure that the adhesive sets properly and creates a strong bond.
This method of patching small holes is ideal for inflatable beds. The adhesive, when used sparingly, is sufficient to hold the patch securely and prevent any future leaks. Just remember to apply the adhesive liberally enough to cover the damaged area and create a reliable bond.
Patching Larger Holes in Your Air Mattress
If your air mattress has a larger hole or if it was punctured by a foreign object, the patching process may be more time-consuming. Here’s how to effectively patch the larger holes in your air mattress:
Applying Adhesive Sparingly
Start by applying the adhesive sparingly to both the damaged area on your mattress and the patch itself. Allow the adhesive to become tacky before proceeding to the next step.
Preventing Peeling with an Additional Bead
To prevent the patch from peeling off, apply an additional bead of adhesive around the edge of the patch. This will provide extra security and make the patch more durable.
Pressing the Patch onto the Hole
Immediately press the patch onto the hole, making sure there are no air bubbles trapped underneath. Air bubbles can interfere with the adhesion, so it’s important to press the patch firmly onto the surface.
Using a Flat Surface and Applying Weight
Place your mattress on a flat surface, such as the floor, and apply weight on the patched area. This will help ensure a strong bond between the patch and the mattress. Follow the instructions provided with your repair kit on how long to apply weight and how much weight to use.
By following these steps, you can effectively patch larger holes in your air mattress and restore its functionality. Remember to use adhesive sparingly, apply an additional bead to prevent peeling, and place the mattress on a flat surface while applying weight. With proper patching, your air mattress will be ready for use again.
Ensuring a Strong Bond and Checking for Additional Leaks
Once you have applied the patch to your air mattress, it is crucial to ensure a strong bond between the patch and the surface.
To achieve this, press the patch firmly onto the mattress, making sure it covers the damaged area completely. Apply even pressure and maintain it for the specified time outlined in the repair kit instructions. This will allow the adhesive to properly bond and create a secure seal.
After the adhesive has fully cured, visually inspect the patch to ensure it adheres securely to the surface. Check for any signs of peeling or detachment. Gently press on the patch to verify its bond strength. If it feels loose or moves easily, reapply pressure and allow more time for the adhesive to cure.
When Should I Replace My Mattress?
You should consider replacing your air mattress if:
- Persistent leaks: If you find yourself constantly repairing leaks or waking up on a deflated mattress, it may be time to replace the mattress.
- Visible wear and tear: If you notice any significant cracks, tears, or worn-out areas on the mattress surface, it’s a sign that the material is deteriorating and may not provide adequate support or comfort.
- Bulging or sagging: Over time, the surface may develop bulges or mattress sag in certain areas, indicating that the internal structure has been compromised.
- Discomfort: If the mattress no longer provides a comfortable sleeping environment or causes pain, it may be time for a new one.
- Age: The lifespan of an air mattress varies depending on usage and quality, but if you’ve been using the same mattress for several years, it may be due for a replacement. See also How Long Does a Mattress Last?
- Odors: If the mattress develops persistent, unpleasant odors that can’t be eliminated, it’s probably time to replace it. See also Why Does My Mattress Smell?
- Reduced air retention: If you notice that the mattress loses air more quickly than it used to, even without visible leaks, the material may have stretched out or the seams may have weakened.
Ultimately, if your air mattress no longer provides a comfortable, supportive, and leak-free sleeping surface, it’s probably time to choose a new mattress.
Frequently Asked Questions
What household items can you use to patch an air mattress?
In a pinch, you can use various household items to temporarily patch a hole in an air mattress. These include duct tape, shower curtain liners, plastic packaging tape, or even a piece of a plastic bag.
Cut the material into a circular shape, ensuring it’s large enough to cover the hole with some overlap. Then apply it over the hole, pressing firmly to create a tight seal.
Keep in mind that these DIY fixes are temporary and may not withstand the pressure of the mattress for an extended period.
How do I make sure my air mattress doesn’t leak?
To prevent your air mattress from leaking, start by ensuring it’s properly inflated and not overloaded beyond its weight capacity. Avoid placing the mattress on rough surfaces that could puncture it, and keep sharp objects away from the bed.
Regularly inspect the mattress for any signs of wear, tear, or holes, and patch them promptly using a repair kit or vinyl patch. When storing the mattress, make sure it’s completely deflated, clean, and kept in a cool, dry place away from direct sunlight or extreme temperatures.
Why does my air bed deflate overnight?
An air bed may deflate overnight due to several reasons. The most common cause is a small hole or puncture in the mattress that allows air to escape gradually. Changes in temperature can also affect the mattress’s inflation level, as cooler temperatures cause the air inside the mattress to contract, making it appear less inflated.
Additionally, the mattress may have a faulty valve that doesn’t seal properly, allowing air to leak out. To identify the issue, inspect the mattress for holes and check the valve for any signs of damage or malfunction.
How do you fix a hole in an air mattress without a patch kit?
If you don’t have a patch kit available, you can temporarily fix a hole in an air mattress using household items like duct tape or a piece of a plastic bag. Clean and dry the area around the hole, then cut a piece of the chosen material large enough to cover the hole with some overlap. Apply the patch over the hole, pressing firmly to create a tight seal.
For a more durable fix, you can use a strong adhesive like superglue or rubber cement to adhere the patch to the mattress. However, these DIY fixes are not as reliable as using a proper patch kit and may not hold up over time.
Will duct tape fix a hole in an air mattress?
Duct tape can temporarily fix a hole in an air mattress, but it is not a long-term solution. While duct tape is strong and adhesive, it may not create an airtight seal and can lose its stickiness over time, especially with the constant pressure and movement of the mattress.
Moreover, removing the duct tape later may cause further damage to the mattress material. It’s best to use a proper patch kit or a vinyl patch for a more permanent and reliable repair.
What is the best thing to patch an air mattress with?
The best material to patch an air mattress with is a vinyl patch. Vinyl patches are specifically designed for repairing air mattresses and other inflatables, as they are durable, flexible, and create an airtight seal. Most air mattress repair kits come with vinyl patches and adhesive, making the repair process simple and effective.
To apply a vinyl patch, clean and dry the area around the hole, apply the adhesive to the patch, and then press the patch firmly over the hole, smoothing out any air bubbles. Allow the adhesive to dry completely before inflating the mattress.
Conclusion
Patching an air mattress is a practical and cost-effective solution for fixing leaks and extending the lifespan of your mattress. Remember to gather all the necessary materials, such as a vinyl surface cleaner, repair kit, and vinyl cement, before starting the patching process.
It’s important to use appropriate materials and ensure a strong bond between the patch and the air mattress surface for the best possible repair.
About the author
April Mayer is a sleep expert and writer with a degree in exercise physiology. She has dedicated her career to exploring the relationship between sleep and productivity. Her insightful articles, such as "The Surprising Way Your Mood Might Be Messing With Your Productivity" and "Wake Up to More Productive Mornings," have been featured in reputable publications like Forbes, Greatist, Real Homes, Thrillist, Tom's Guide, and Eat This, Not That. With a passion for helping others lead more productive lives through restful sleep, April offers valuable expertise on foods and vitamins for better sleep. As a trusted member of the Early Bird team since March 2020, she continues to provide informative and well-researched content.
View all posts

